How To Find A Water Leak Under A Concrete Floor
Written by webtechs

How To Find A Water Leak Under A Concrete Floor

Detecting a water leak under a concrete floor early can potentially prevent any further damage. Let’s take a look at how you can properly diagnose a water leak below the surface.

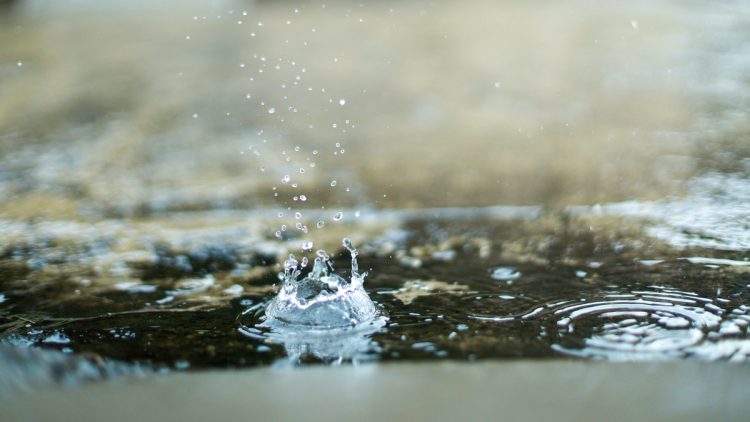
Signs Of A Water Leak

It’s crucial to understand the signs indicating a potential water leak under a concrete floor. Check the area for the following issues listed below.

Mold Or Mildew Growth

It’s no secret moisture from a water leak can result in the unwanted growth of either mold or mildew. This happens especially in confined spaces or basements.

Discolored Flooring

Check any areas of the flooring that appear discolored or consistently damp. These can be clear signs of a water leak.

Water Bills Increase

Any unexpected increase in water bills can point to an underground leak.

How To Find A Water Leak Beneath A Concrete Floor

Use this quick, step-by-step guide to efficiently locate a water leak under your concrete floor.

Step 1. Listen For Running Water

  • Listen for the sound of running water, if possible.
  • A quiet environment is always best for this step.
  • In order to minimize noise, try turning off all appliances and faucets.

Step 2. Use An Infrared Thermometer To Locate Hotspots

  • Use an infrared thermometer to identify any variations in temperature.
  • Leaking water can cause localized temperature changes on the surface of concrete.

Step 3. Utilize A Water Meter

  • Monitor the water meter while all water-using appliances are turned off.
  • If it keeps running, there could be a leak somewhere in your plumbing system.

Step 4. Look For Moisture Buildup

  • Check specific areas of the floor with the help of a moisture meter.
  • Raised moisture levels often indicate a water leak.

Step 5. Call The Professionals

  • Consider hiring leak detection professionals for this task.
  • The professionals will be able to pinpoint the exact location of any leaks.

Conclusion

Taking immediate action is necessary once the location of the leak has been discovered. For total concrete floor restoration services, contact the experienced team at All Kote Lining today!

Concrete Floor Restoration By All Kote Lining Inc

If you need concrete floor restoration services, then All Kote Lining Inc. is here to help.  We can maintain your equipment so it is more efficient and lasts longer.  That means you save money as it operates and won’t have to spend money replacing it as soon.  Our services are through and can be ordered on a regular basis to ensure your equipment stays in top notch condition.

Call Today – 480-966-4446

How To Grind Concrete Floor
Written by webtechs

How To Grind Concrete Floor

Whether you are removing imperfections or looking for a new finish, concrete grinding can help you get the surface results you desire. Use our guide below to properly grind your concrete floor.

How To Grind A Concrete Floor

For DIY’ers, there is a complete step-by-step guide to this process outlined below.

Safety precautions need to be taken whenever performing this task. Make sure to wear proper safety gear at all times. Always follow the manufacturer’s instructions.

Step 1. Prepare The Area

  • Clear the area of any debris or obstacles that may be in the way prior to grinding.
  • Cover adjacent surfaces with either tarps or plastic sheets.
  • This will help to contain dust and prevent any damage.

Step 2. Use The Correct Concrete Grinder

  • You need to choose the correct grinder based on the size of your project and the specific type of surface.
  • For example, a walk-behind concrete grinder is best for larger areas.
  • Smaller areas may call for a handheld grinder offering better precision.

Step 3. Attach Grinding Disc

  • Depending on the concrete grinder model, you will be able to attach a grinding disc.
  • Begin with a coarse-grit diamond disc for the initial grinding needs.
  • This will help remove thicker layers or some imperfections from your surface.

Step 4. Grind

  • Start your grinder and lower the grinding disc onto the concrete cautiously.
  • Move the grinder side-to-side and back-and-forth to provide an even grinding process.
  • Slightly overlap each pass in order to prevent leaving any uneven spots behind.

Step 5. Monitor Progress

  • Check your work frequently to make sure the grinding remains consistent.
  • Try to avoid grinding in the same spot for an excessive amount of time.
  • Doing this can create uneven surfaces or potential damage.

Step 6. Switch To Finer Grit

  • Once the proper amount of material has been removed or your surface is level, you can switch to a finer-grit diamond disc.
  • This will give you a smoother and more polished finish, overall.

Step 7. Clean Surface

  • After the grinding process has been completed, it’s time to use a broom or vacuum to clean up.
  • Rinse the area with water, washing away any remaining dust, debris, or particles.

Step 8. Apply A Finish

  • Depending on the project, it could be wise to apply a polish, stain, or sealer to the concrete floor.
  • This undoubtedly enhances your floor’s appearance.

Conclusion

Grinding a concrete surface is a crucial step toward achieving a smooth and even floor. If you are uncomfortable doing this task yourself, contact the experienced team at All Kote Lining today!

Phoenix Valley Chiller & Cooling Tower Maintenance

If you need chiller maintenance or cooling tower maintenance to get the most of your equipment All Kote Lining Inc. is here to help.  We can maintain your equipment so it is more efficient and lasts longer.  That means you save money as it operates and won’t have to spend money replacing it as soon.  Our services are through and can be ordered on a regular basis to ensure your equipment stays in top notch condition.

Call Today – 480-966-4446